How to Manage Live Photos and Save Space on iPhone
Live Photos turn every shutter press into a mini video, but most iPhone owners never asked for the feature and have no idea how much space those silent clips are eating up. This guide covers everything you need to manage Live Photos on iPhone — what they are, exactly how much storage they consume, how to turn off automatic capture, how to convert them to stills, and how TidyByte can handle the entire cleanup in minutes instead of hours.
What Are Live Photos and How Do They Work
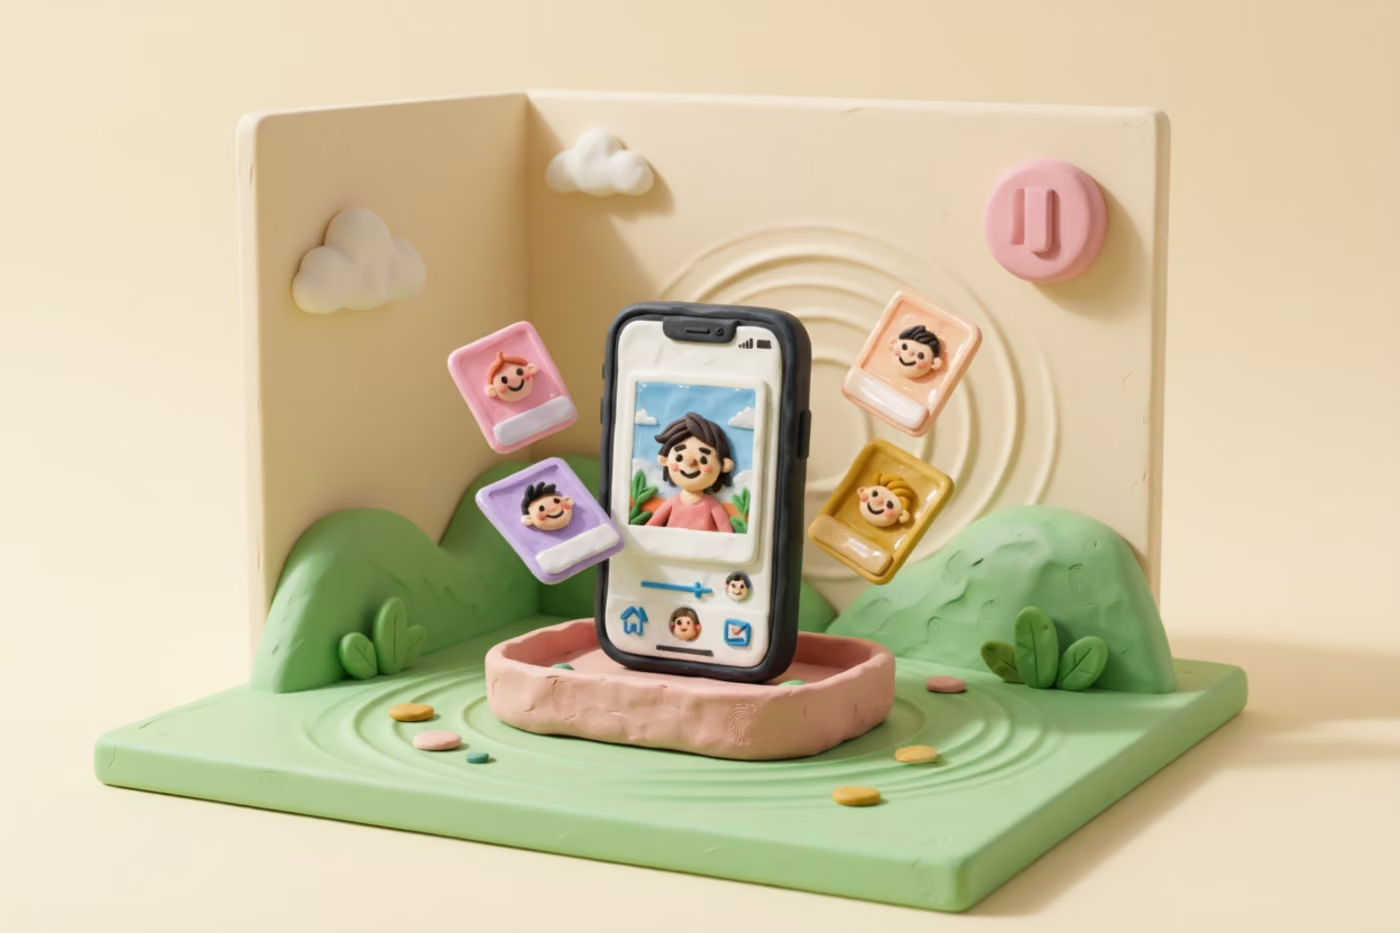
Apple introduced Live Photos alongside the iPhone 6s in 2015 as a way to bring still images to life. When the feature is enabled, your camera doesn’t just capture a single frame at the moment you press the shutter. Instead, it continuously records video for 1.5 seconds before and after that moment, producing a roughly 3-second clip at 1080p resolution with audio. The result plays back when you long-press any Live Photo in your library.
Under the hood, a Live Photo is actually two separate files bundled together. The first is a standard still image in HEIF or JPEG format — the same 12-megapixel photo you’d get with Live Photos turned off. The second is a short MOV video file encoded in H.264 or HEVC that contains the motion and sound. iOS links these two files so they appear as a single item in your camera roll, but they occupy distinct storage on disk.
The feature is enabled by default on every new iPhone and persists across software updates. Many users don’t realize it’s on until they notice the small concentric-circle icon in the Camera app or see the “LIVE” badge on thumbnails in their library. While Live Photos can capture genuine moments — a child laughing, a pet running, ocean waves — the vast majority of photos people take are static scenes where the video clip adds nothing but wasted storage. Learning how to manage Live Photos on iPhone means understanding which ones to keep and which to convert.
How Much Space Live Photos Use
The storage cost of Live Photos is consistently underestimated. A standard still photo on a modern iPhone typically uses 2–5 MB, depending on whether the device saves in HEIF (more efficient) or JPEG (larger). A Live Photo bundles that same still image with a 3-second video clip that adds another 4–8 MB on its own. The total per-photo footprint is 7–14 MB — roughly two to three times what a still image requires.
| Photo type | Still image | Video clip | Total |
|---|---|---|---|
| Live Photo (HEIF) | 2–4 MB | 4–8 MB | 6–12 MB |
| Live Photo (JPEG) | 3–5 MB | 4–8 MB | 7–13 MB |
| Still only (HEIF) | 2–4 MB | — | 2–4 MB |
| Still only (JPEG) | 3–5 MB | — | 3–5 MB |
These numbers add up fast. According to a 2024 survey by StorageCrypt, the average iPhone user has around 2,400 photos on their device. If even a third of those are Live Photos — a conservative estimate for users who never changed the default setting — that’s 800 photos carrying an extra 4–8 MB each, for a total of 3.2–6.4 GB of video clips that are rarely watched. For users who take photos daily over several years, the number of Live Photos can easily exceed 2,000, pushing the wasted storage into double-digit gigabytes.
Newer iPhones with 48-megapixel sensors (iPhone 14 Pro and later) produce even larger video clips because the camera captures higher-resolution motion data. If you own a recent model and have never managed your Live Photos, the storage impact is likely at the higher end of these estimates. Checking your own numbers is straightforward: open Settings, tap General, then iPhone Storage, and scroll to Photos to see how much space your library consumes.
Turning Off Live Photo Capture
The fastest way to stop accumulating unnecessary Live Photos is to disable automatic capture. This doesn’t affect photos you’ve already taken — it only changes what happens going forward. Here’s how to turn off Live Photos permanently.
Disable in the Camera app
Open the Camera app and look for the concentric-circle icon at the top of the screen. If it’s yellow, Live Photos is active. Tap it once so it turns white with a diagonal line through it. The icon will read “LIVE OFF” briefly before collapsing. Every photo you take in this session will be a standard still image.
Make the change permanent
By default, iOS re-enables Live Photos every time you close and reopen the Camera app. To prevent this, go to Settings > Camera > Preserve Settings and toggle on Live Photo. This tells iOS to remember your last-used state, so if you turned Live Photos off, it stays off across camera sessions. This single setting is the most important step if you want to manage Live Photos on iPhone without constantly fighting the default.
When to leave it on
There are scenarios where Live Photos earns its keep. If you regularly photograph children, pets, sports, or nature, the motion data can capture moments a still frame misses. The trick is to be deliberate: turn Live Photos on when you know the scene has movement worth capturing, and leave it off for everything else. Toggling manually takes two seconds and saves you from accumulating thousands of useless video clips over time.
Converting Live Photos to Stills
Turning off capture prevents new Live Photos, but what about the hundreds or thousands already in your library? Converting existing Live Photos to stills is the single most effective way to reclaim storage without deleting any photos. The still image is preserved at full resolution — you’re only removing the video clip.
Using the Photos app (one at a time)
Open any Live Photo in the Photos app and tap Edit. At the top of the editing screen, tap the Live Photos icon (concentric circles). You’ll see a yellow “LIVE” badge — tap it to toggle the effect off, then tap Done. The photo is now a still. On iOS 17 and later, you can also tap the three-dot menu (…) and choose Duplicate as Still Photo to keep both versions until you decide which to delete.
Why manual conversion doesn’t scale
The built-in method works perfectly for a handful of photos. But if you have 500 or 1,000 Live Photos, the one-at-a-time process becomes impractical — at roughly 5–7 seconds per photo, converting 1,000 Live Photos manually would take over an hour of uninterrupted tapping. Most people attempt a dozen conversions, get frustrated, and give up. The remaining photos stay untouched, silently consuming gigabytes. This is exactly the scenario where a batch tool like TidyByte becomes essential to manage Live Photos on iPhone at scale.
Storage you can recover
The table below shows estimated storage recovery based on the number of Live Photos in your library, assuming an average video clip size of 6 MB:
| Live Photos | Storage reclaimed |
|---|---|
| 200 | ~1.2 GB |
| 500 | ~3 GB |
| 1,000 | ~6 GB |
| 2,000 | ~12 GB |
| 3,000 | ~18 GB |
Batch Management with TidyByte
TidyByte is a free, open-source iPhone app designed to solve exactly this kind of problem. Instead of manually converting Live Photos one at a time through Apple’s Photos app, TidyByte scans your entire library, identifies every Live Photo, and presents them in a swipe-based interface so you can process hundreds in a single sitting. The app runs entirely on-device — no photos are uploaded, no account is required, and there are no ads or subscriptions.
How TidyByte handles Live Photos
- Scan — TidyByte reads your library’s media type metadata to locate every Live Photo. The scan typically completes in 10–30 seconds because it reads metadata, not pixel data.
- Review — Each Live Photo is displayed with its still frame. Swipe left to convert to a still, swipe right to keep it as a Live Photo. You can also use Select All to convert everything at once.
- Convert — TidyByte duplicates each selected photo as a still image and removes the original Live Photo, immediately freeing the video clip’s storage.
- Track progress — The app shows exactly how much storage you’re reclaiming in real time, so you know the impact before you confirm.
The speed advantage is dramatic. Converting 500 Live Photos through the Photos app would take roughly 45 minutes of repetitive tapping. TidyByte handles the same batch in under 3 minutes, including review time. You keep full control — every photo is shown to you before conversion, so nothing happens without your approval.
Beyond Live Photos, TidyByte can also find duplicate photos, identify blurry shots, and compress large videos — all in the same session. If you’re looking for a comprehensive way to free up space, TidyByte handles multiple cleanup tasks without switching between apps. For a full breakdown of available tools, see our guide on freeing up iPhone storage.
When Live Photos Are Worth Keeping
Converting every Live Photo to a still would be a mistake. Some moments genuinely benefit from the motion and audio data, and stripping those clips means losing something you can’t recreate. The goal isn’t to eliminate Live Photos entirely — it’s to be intentional about which ones you keep.
Keep the Live Photo when
- Motion is the memory. A child blowing out candles, a dog catching a frisbee, fireworks bursting overhead — these scenes are defined by movement. A still frame captures a fraction of the moment; the Live Photo preserves the full experience.
- The still frame isn’t the best shot. Live Photos let you scrub through the 3-second clip and pick a different key frame. If the default frame caught someone mid-blink or slightly blurred, the video might contain a sharper alternative.
- You use Live Photo effects. iOS offers Loop, Bounce, and Long Exposure effects that only work with Live Photos. Converting to a still removes access to these creative tools permanently.
- Audio adds context. Some Live Photos capture ambient sounds — a concert, a crowded street, waves on a beach — that are part of the memory. The still image alone can’t convey that.
Convert to still when
- The scene is static. Documents, receipts, screenshots, posed portraits, food photos, and product shots rarely benefit from 3 seconds of motion. The video clip is dead weight.
- You never watch the animation. If you can’t remember the last time you long-pressed a photo to see it move, the video data is purely wasted space.
- You need storage now. Converting Live Photos is the fastest way to reclaim gigabytes without deleting a single image. When your iPhone is nearly full, this is the lowest-risk first step.
- You’re sharing externally. AirDrop preserves Live Photos, but uploading to social media, email, or non-Apple cloud services typically strips the video automatically. Converting beforehand ensures consistency.
A practical heuristic: if you scroll past a Live Photo without recognizing what the motion portion shows, it’s safe to convert. Most users find that fewer than 15–20% of their Live Photos are genuinely worth keeping in the animated format. The rest are static scenes where the camera captured motion by default, not by intent. When you manage Live Photos on iPhone with this mindset, you keep the memories that matter and reclaim the storage that doesn’t.
Frequently asked questions
What are Live Photos on iPhone?
Live Photos are a camera feature introduced with iPhone 6s that captures 1.5 seconds of video and audio before and after you press the shutter button. When you long-press a Live Photo in your library, it plays back as a short animation with sound. Internally, each Live Photo is a 12-megapixel still image paired with a roughly 3-second 1080p video clip.
How much space do Live Photos take?
A single Live Photo typically uses 7–14 MB — about 2–3 times more than a standard still photo. The video component alone adds 4–8 MB per photo. A library with 1,000 Live Photos can consume 6–12 GB of extra storage just for the video clips.
How do I turn off Live Photos?
Open the Camera app and tap the Live Photos icon (concentric circles) at the top of the screen so it turns white with a line through it. This disables Live Photos for new shots. To make the change permanent, go to Settings > Camera > Preserve Settings and toggle off Live Photo — otherwise it re-enables every time you open the Camera app.
Can I convert Live Photos to regular photos?
Yes. Open a Live Photo in the Photos app, tap Edit, then tap the Live Photos icon and toggle it off to convert to a still. On iOS 17+, you can also use the three-dot menu to Duplicate as Still Photo. For batch conversion of many Live Photos at once, use a free app like TidyByte which can scan your library and convert them in a single session.
Does TidyByte help manage Live Photos?
Yes. TidyByte scans your photo library, identifies all Live Photos, and lets you review them in a swipeable interface. You can convert individual Live Photos to stills or use Select All to batch-convert everything at once. The app is free, runs entirely on-device, and shows you exactly how much storage you will reclaim before confirming.
Ready to clean up your photo library?
TidyByte is free, runs 100% on your device, and takes just minutes to use.